Good Eats: Homemade Crockpot Chicken Noodle Soup

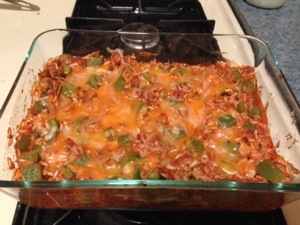
Like most families with toddlers, we eat macaroni and cheese. Frequently. Unlike most families, we always have leftovers. 

HOS (I haven’t given him a post-marital name. Did I mention we are officially married?!) doesn’t eat the stuff. Me? Without reliving some lonely nights in bed with a pan of mac & cheese with corn and hot dogs mixed in, we’ll just say I try not to eat much of it these days. 

We also eat Annie’s Homegrown macaroni. We are big fans, especially Bernie’s Farm, but the pasta always seems dry and not cheesy enough. This is probably becaus it’s healthier! 

In an effort to cut down on bowls of old, dry macaroni and cheese lurking in the back of my fridge, and in an effort to increase the cheesy factor, we made a slight adjustment. I pour one cup of uncooked noodles into a ziploc bag and set aside. I cook the remaining noodles as directed. Voila! 

We eat all of the mac & cheese, and it was extra cheesy!

But what about the extra noodles? 

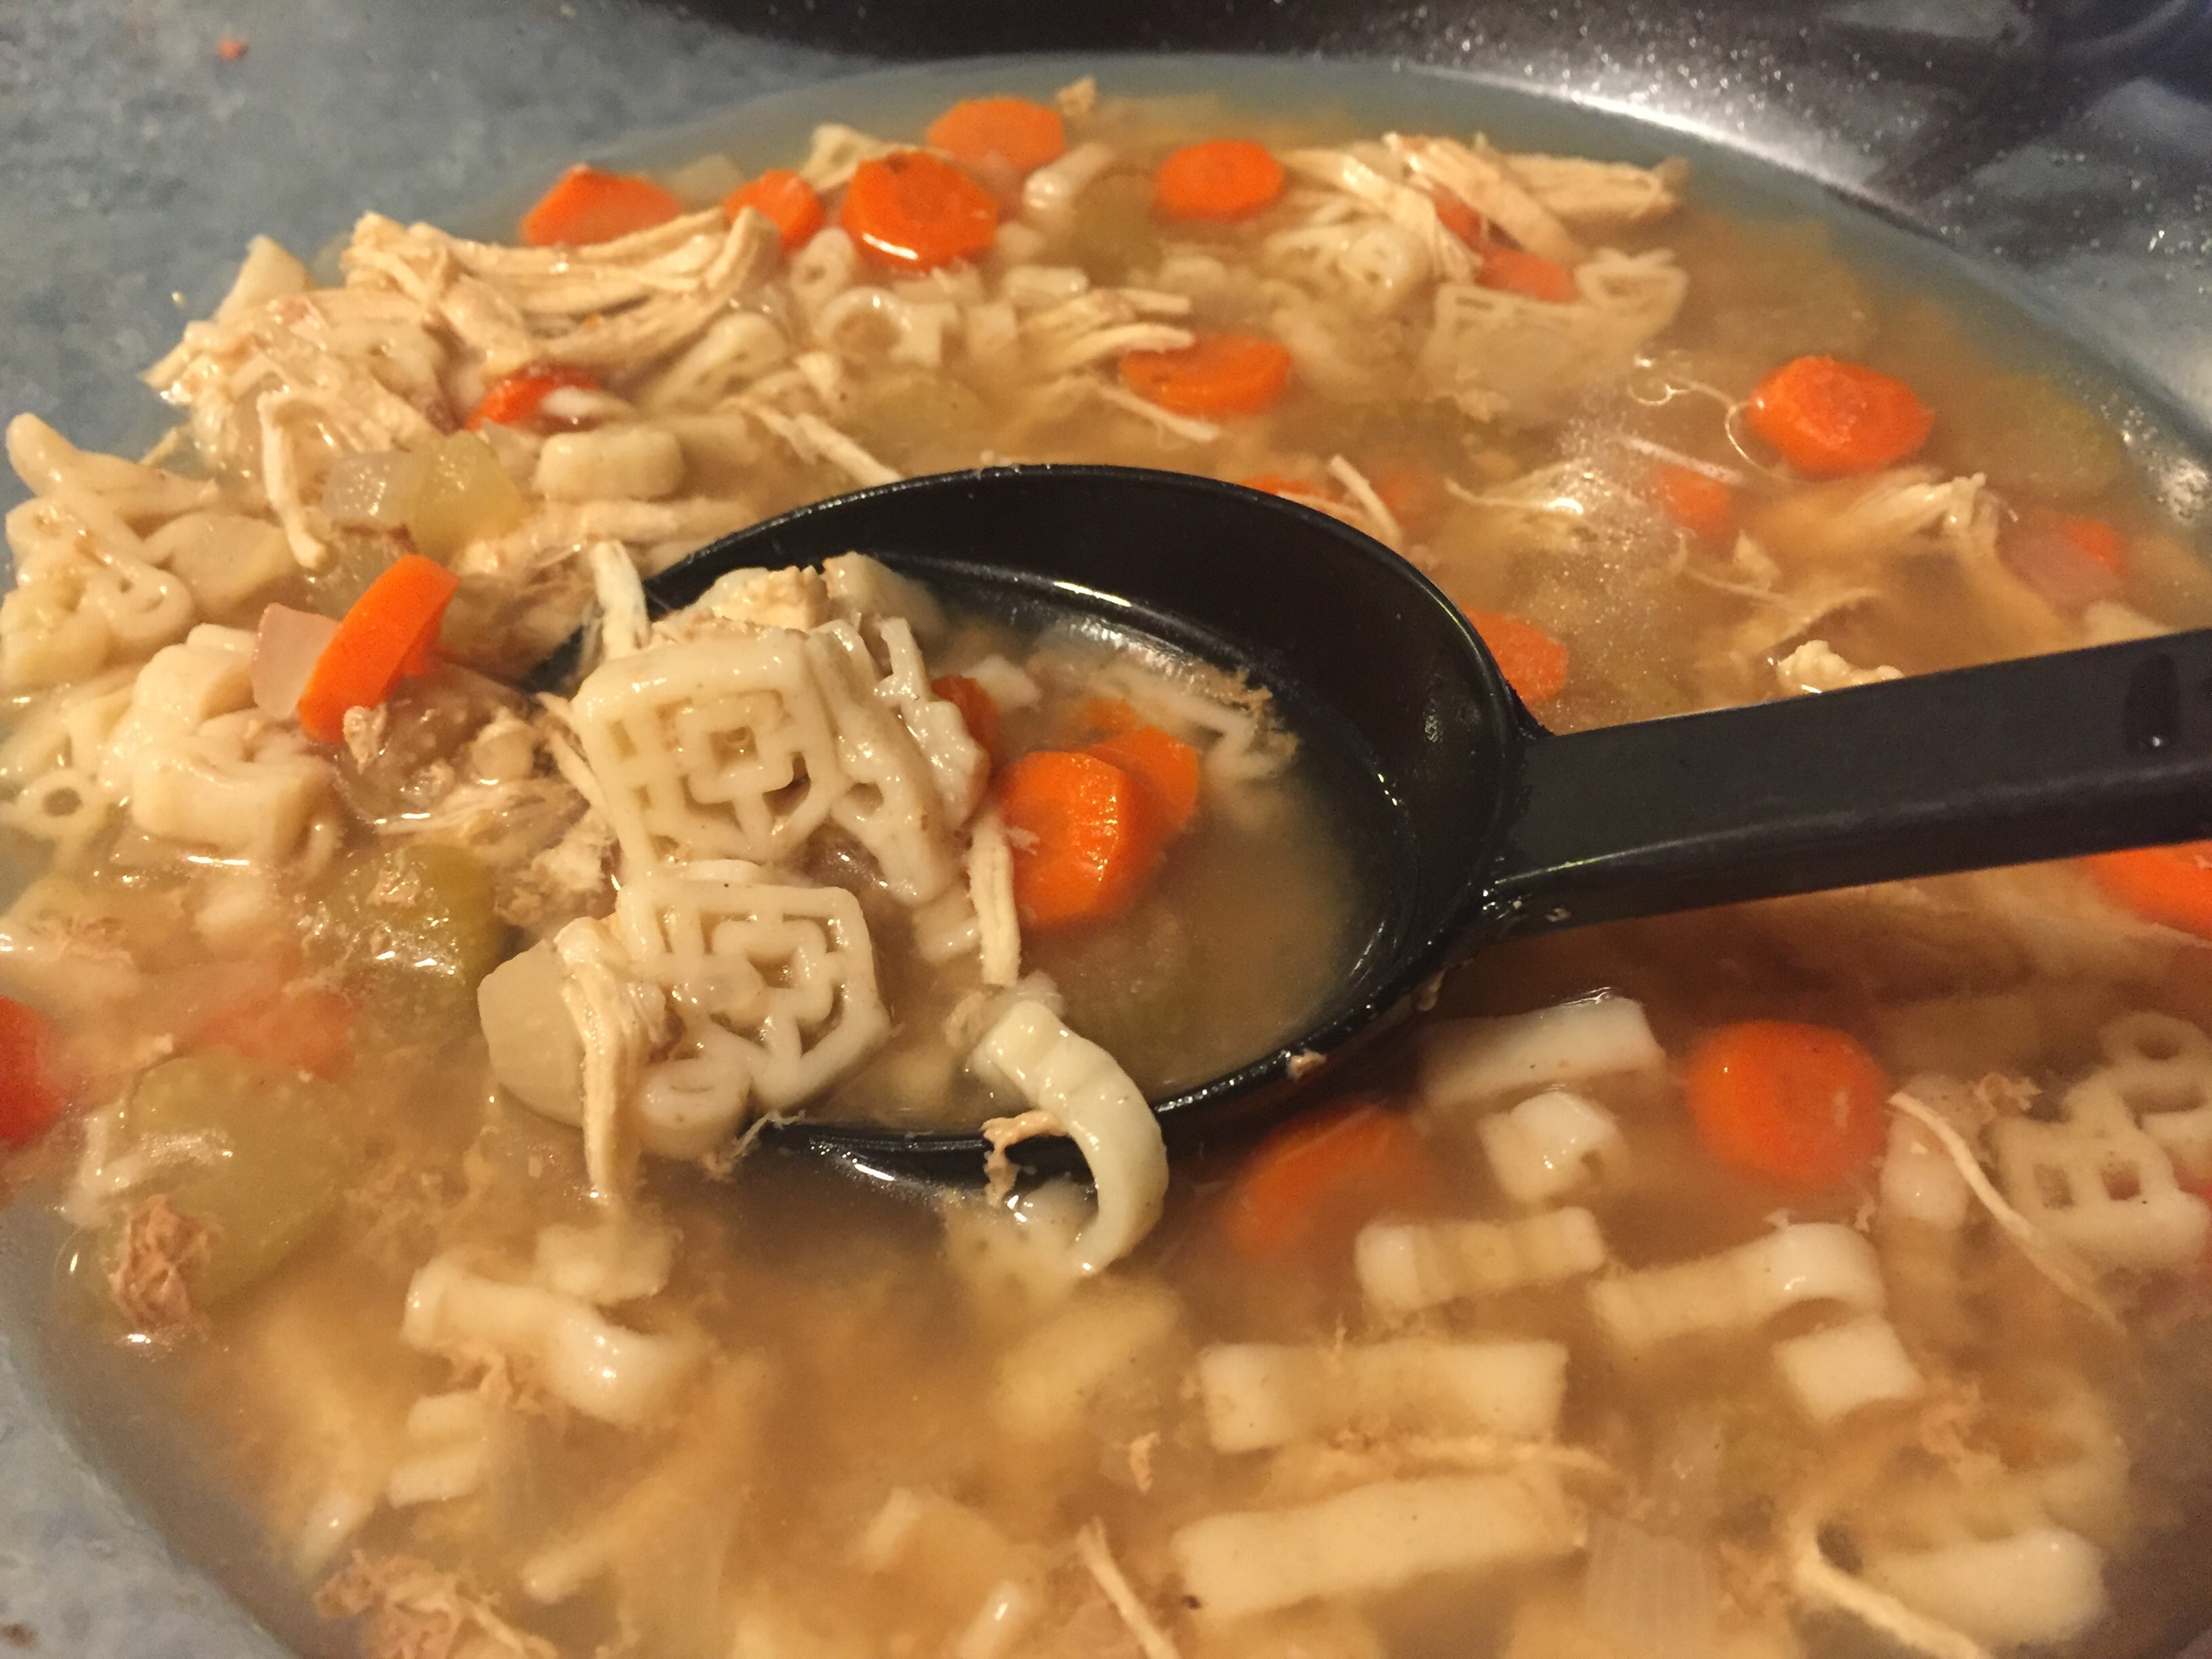
Make another kid favorite, of course! I threw together a batch of homemade crockpot chicken & noodles with Bernie’s Farm noodles. 🙂

Below is my recipe for the quick, “farm” chicken noodle soup. 

Crockpot Chicken Noodle Soup (with excess macaroni noodles)


Ingredients

Left over dry macaroni
1 frozen chicken breast
2-3 whole carrots
1/2 small yellow onion
2-3 ribs celery
4 Cups vegetable broth 
(Optional) spinach 
1 Tsp black pepper
1 Tbs garlic powder
1 Bay leaf 

Recipe

1. Pour the vegetable broth into the crockpot and add the frozen boneless chicken breast.

2. Chop the onion, carrots and celery so there are about 1/2 inch thick. If using spinach, chop and place in fridge. Add onions, carrots and celery to the crockpot.

3. Add the herbs and spices.

4. Cook on low for 4.5 hours.

5. After 4 hours, remove the chicken breast. Shred the chicken breast and return to the crockpot.

6. Pour in the farm macaroni. Add optional spinach. Stir.

7. Let cook the remaining 30 minutes. Check to make sure the noodles are tender.

8. Enjoy!

I recommend some fresh rolls or biscuits as a side. Empty calories aside, you can’t go wrong with carbs. Right?

Meringue is no Joke, People

When I was young, my great grandparents would take my brother, sister and me to a cafe in Broken Bow, NE. If I remember correctly, I believe it was Charlene’s? Or maybe that’s what we called it…

There was an older woman who would always wait on us. Great grandma always had her hot water for tea. I remember wonderful mashed potatoes and gravy, and my brother and I always ordered chicken nuggets and Mountain Dew. The dream lunch of all 5-10 year olds. And some days, we were allowed to order chocolate malts. I’m not talking about the shakes you can order at any old fast food joint. These were the delicious malts of yesteryear. We watched a magical malt machine churn out the dessert into an icy metal cup. This was the kind of treat that ruins you for all other treats!

What does all this have to do with meringue?

My memories of this cafe are some of my fondest memories with my great grandparents. It was the type of cafe that only exists in small towns, and I hope that each of you have experienced a place like this. You’ll know you’re in the right place when you see the pie case filled with apple, cherry and peach pies next to lemon, chocolate, banana cream and coconut cream pies with mile high meringue. You know the kind… When the meringue is just as deep as the filling!

I never attempted to make meringue until this weekend. And it really is no joke!

Meringue instructions appear very simple, but don’t be fooled! It took three attempts to top my homemade chocolate pie with somewhat presentable meringue.

Failure Attempt #1
“Whip egg whites until they become fluffy…”
What the H does that mean?! I whipped the whites with a fork and they became a little bubbly. Does that count as “fluffy?”

It does not.

Failure Attempt #2
I was smarter this time; I watched a YouTube video!

When searching for a video tutorial, I recommend finding someone with a skill level close to your own. Don’t watch some top chef like I did..

While I finally learned how to make my egg whites fluffy using a whisk
, they were not fluffy enough and sat on top of my chocolate pie like a greasy, gooey excretion.

Yes. Gross.

Attempt #3
Success-ish!

I found a YouTube video from what’ sounds like a lady who would play cards with my grandma every Saturday. Bless this woman with for meringue for dummies tutorial and her use of a mixer.

Thanks to her video, I was able to produce the pie seen below. It’s not going to win the blue ribbon on the fair or take a place of honor in the cafe pie case, but I’m proud nonetheless!

20140713-140357-50637318.jpg

If you’d like to make a meringue, I recommend watching this video beginning at the 4:10 time stamp.

Can you make an awesome meringue? I’d love to know your secret!

Good Eats: Stuffed Pepper Casserole

Growing up, I was not what you would call a “picky eater.” I loved to eat, and there were very few things I would turn down.

One of my favorite meals my mom would make was stuffed peppers. My brother and sister would eat the cheesy rice stuffing and forgo the pepper, but I loved it all! We didn’t eat them all that often, but I distinctly remember large peppers overflowing with rice, hamburger, tomato sauce and cheese.

So. Good!

As I’m making strides in eating healthier, I knew this would be a recipe I could easily adapt, simply swap out a few items. And it sounded delicious! Of course, HOS wouldn’t eat a stuffed pepper if I paid him, and Charli is a bit young for this dish. The best way to please my baby and fulfill my craving was to create a healthy, stuffed pepper casserole.

I can’t say whether or not Charlotte enjoyed the dish. It was one of her rebellious evenings when she chose to eat presumably large quantities of animal cookies at daycare just before I arrived. She didn’t eat dinner at all. But I loved it!

If you like stuff peppers, you’re sure to enjoy this rendition.

Clean Stuffed Pepper Casserole

20140113-215012.jpg

Ingredients
1 lb ground turkey
2-3 large green peppers
1 cup brown rice
(1) 12 oz can organic tomato sauce
Mrs. Dash onion and herb seasoning
1-2 cups mozzarella
2.5 cups water

Recipe
1. Boil 1 cup brown rice in 2.5 cups water until tender. Water will all be evaporated or absorbed by the rice. Preheat oven to 350 degrees.

2. While the rice is boiling, brown the ground turkey on a low temp. I seasoned the meat as it was cooking, adding 1 tsp (ish) Mrs. Dash when it is first place in the skillet and again after the meat is turned the first time.

3. Chop the green peppers and add to the turkey as it is browning. This will result in softer peppers. For a crunchier pepper, wait to add them until after the brown rice is ready.

4. When the rice is finished boiling, stir into the skillet.

5. Pour the tomato sauce into the skillet and let cook on low for a few minutes, stirring.

6. Pour the contents of the skillet into a casserole dish. If using 2 cups of cheese, cut in 1 cup of mozzarella into the casserole. If only using 1 cup, cheese will be added later.

7. Bake at 350 degrees for 15 minutes.

8. Remove the casserole and top with the remaining mozzarella. Return to oven for 3 minutes.

9. Enjoy!

In the future, I would like to try this recipe with some stewed or diced tomatoes. I’ll probably reduce the sauce quantity if I add tomatoes.

What’s your favorite stuffed pepper recipe?

Good Eats: Lazy Chicken Pot Pie

One of the hardest things I do as a grown-up is budget. And I don’t do it well!

As it turns out, I like to spend A LOT of money on food. What can I say? I like to eat!

I didn’t want my love of food to suffer just so I could save a few bucks, so I decided to try a new approach. For the first time in my life, I created a meal plan. … And I’m sticking to it!

At the beginning of each pay period, I sit down and select a menu for the whole pay period. I make a list of what food I need, check the ads and then head to the store. So far, I’m cutting my grocery bill in half. It doesn’t like much, but it’s going a long way!

But that’s not what I meant to write about!

I’m taking this new meal plan as an opportunity to try new recipes. Now that the weather has taken an unpleasant dive toward winter temperatures, I developed a craving for chicken pot pie. Only one problem, I have no idea how to make a pie crust.

Oh, and I’m lazy.

Maybe not so much lazy as short on time…

So! I did some Googling and threw together my lazy chicken pot pie recipe.

Chicken Pot Pie

20131113-211030.jpg

Ingredients
2-3 large chicken breasts
1 can of Veg-All mixed vegetables
1 10 3/4 oz can of cream of chicken soup
2 Pillsbury pie crust (I used the refrigerated pie crusts.)

Recipe
1. Place the frozen chicken in a crock pot with 1.5 – 2 cups of water. Cook on low for 6-8 hours.

2. Preheat oven to 450 degrees. Place one of the pie crusts in the pie pan and bake 10 minutes.

3. While the pie crust is baking, shred the cooked chicken and mix with the drained vegetables and cream of chicken soup. Add pepper to taste.

4. After the 10 minutes of baking, remove the pie crust from the oven. Pour the filling mix into the crust and place the second crust on top. Cut holes into the pie crust with a butter knife.

5. Return the pie to the oven and bake for 25 minutes or until the crust is golden brown.

6. Remove the pie and let it cool a few minutes before serving.

I don’t remember eating a lot of chicken pot pies growing up, so I don’t have a strong base line for comparison. … But I’ll definitely be making this again!

What’s your favorite chicken pot pie recipe?

Good Eats: Energy Balls

Keeping true to my 30 x 30 resolutions, I tested one of my Pinterest recipes last weekend.

Unfortunately, the pin was created by someone who doesn’t understand how blogs work. If you like a blog with a recipe and link the pin, it must be linked to the actual post, not just the blog URL.

I spent forever (five minutes) scrolling through a blog about flowers? before deciding to wing it.

The actual pin is for “Energy Bites,” but I found myself referring to them as “Energy Balls,” and it stuck.

I recommend this recipe as a treat or a quick breakfast.

Energy Balls

20130122-213540.jpg

Ingredients
1 cup dry oatmeal
1/2 cup chocolate chips
1/2 cup peanut butter
1/3 cup honey
1 tsp. vanilla

Recipe
1. Mix the peanut butter and honey together. Add the oats, vanilla and chocolate chips. Mix until well-blended.

2. Using a small cookie scoop, form balls from the mix and drop onto wax paper. Let sit for 15 – 30 minutes.

3. Enjoy!

I recommend storing in the fridge to keep a more solid consistency.

I assume you could use a no-bake cookie approach to this recipe and melt the honey and peanut butter on the stove before mixing in the oats, vanilla and chocolate chips.

But why add a step when it tastes so good like this?

Try out the recipe and let me know what you think. What would you add to this recipe?

Good Eats: Garlic Bread Pizza

I may be lacking in the hobby department lately, but there is one thing that I’m never far from – good eats!

I love me some food. And I’m anything but picky, so it’s easy for me to find new recipes to enjoy. Pinterest has just taken my love of food to a new level.

One of the first recipes I pinned was for a pizza dip from Closet Cooking. My friends and I had a dip party last year, and the pizza dip was a hit. But what can be even better than pizza dip?

Pizza!

I took the recipe from Closet Kitchen – sans peppers and olives – and put it on garlic bread instead of in a pie pan. I made this version of a garlic bread pizza again tonight and thought it would be a good recipe to share.

If you like cream cheese, you’ll love this recipe!

Garlic Bread Pizza

Ingredientsgarlic bread pizza ingredients
4 oz cream cheese (softened)
1/4 cup sour cream
1/4 cup grated parmesan
1 – 1.5 cups shredded mozzarella
8 oz pizza sauce
1 small package pepperonis
1 loaf frozen garlic bread

Recipe
1. Mix the cream cheese, sour cream, parmesan, and 1/2 cup of the mozzarella in a bowl. Smother mixture on the open faces of the garlic bread.

2. Spread the pizza sauce on top of the mixture. I’m not huge on red sauces, so I don’t use the full 8 oz.

3. Place the pepperonis on top of the sauce. Add as few or as many as you’d like.

4. Sprinkle the remaining mozzarella on top of the pepperonis. I like lots of cheese, so I used 1 cup, but you can use as much or as little as you would like.

5. Follow the directions on the garlic bread package. I used Pepperidge Farms garlic bread and baked the pizza at 350 degrees for 10 minutes. Baking time will depend on whether you like softer or crispier bread.

6. My favorite step… Enjoy!

garlic bread pizza